This article shows how to launch the "multi-user editor."
Note: The xml schema (TD.txds) must be in the same folder as OdaMfcApp.exe.
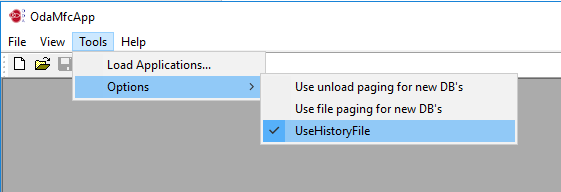
Figure 1
- Choose Tools -> Load Applications to load the necessary libraries: Td_Tf, Td_UndoHistory, and ExMultiUserEdit.
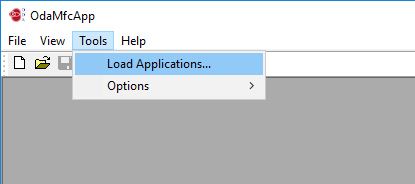
Figure 2
- Click Load.
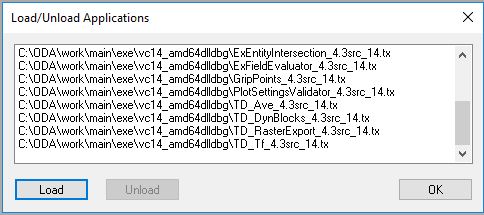
Figure 3
- Load the Td_Tf, Td_UndoHistory, and ExMultiUserEdit libraries as shown below.

Figure 4

Figure 5

Figure 6
- Verify the load results as shown below.

Figure 7
- The current application will be the server. This server works using localhost (127.0.0.1:444). Create a new drawing, then run the server by choosing Edit -> Registered Commands -> Multi User Edit -> start_server.
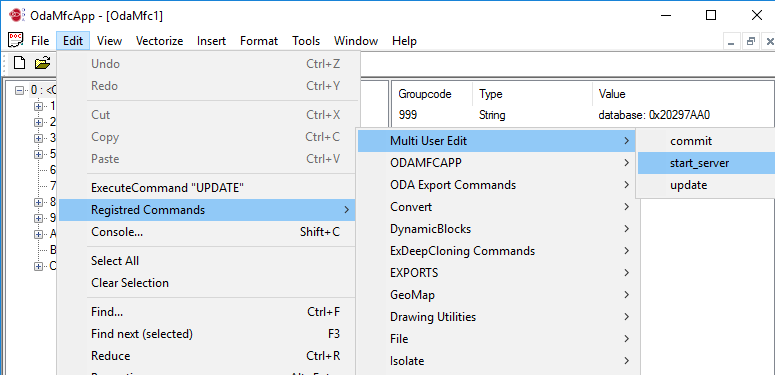
Figure 8
- Run the client applications by repeating Steps 1-6.
- Create a new drawing and vectorize it.

Figure 9
- Send changes to the server by clicking Commit.

Figure 10
- To get changes on another client, at the client, click Update.

Figure 11
The drawing is drawn on the second client and the changes are updated on the first.
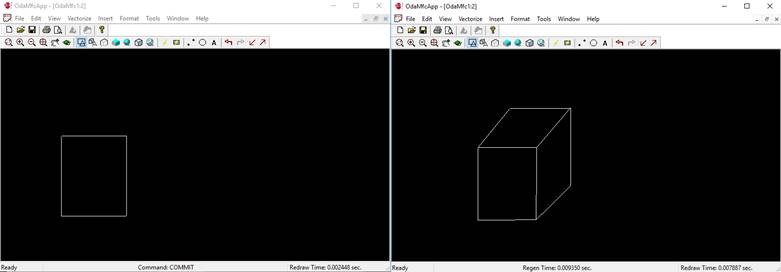
Figure 12

Figure 13


