Teigha Viewer is a free application that anyone can use to render .dwg and .dgn files and developers can use to test their custom TX modules.
It’s also an example that ODA founding members can use to develop with Qt and Teigha. If you are an ODA founding member, use the following steps to try it.
Step 1. Download Qt Creator (IDE Qt Creator supplied with Qt libraries) from https://download.qt.io/archive/qt/.
Many folders with different versions are available:
- 5.8 – Use with Microsoft® Visual C++® (MSVC) 2015
- 5.5 – Use with MSVC 2013
- 5.0 to 5.1 – Use with MSVC 2010
Before installation, make sure that msvc is selected from the components menu for installation.
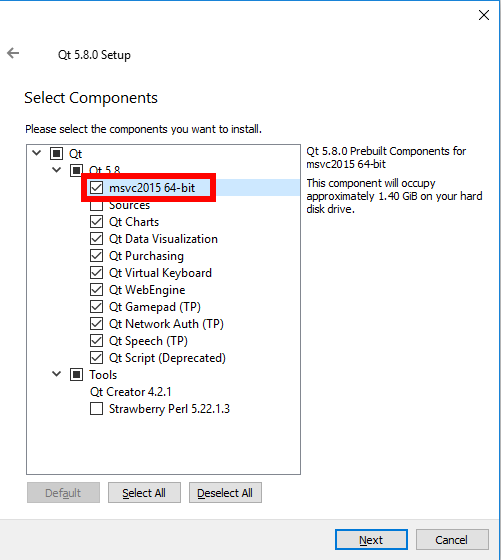
Step 2. Check that Qt is enabled for your platform in the config file of the project generation. This file is located in …/main/build/platforms/xxx.cfg – where xxx.cfg is the name of the file for your platform (this example is for the Microsoft Windows® operating system, so the name starts with VC, vc*.cfg). Open the file in a text editor and check the string QT5=1. If you do not find the string, add it as shown below.

Step 3. In Environment Variables, add a new variable QTDIR and set its path to the folder mscv* that is located in the folder of your installed Qt. Also add the same path to the System Variable path.
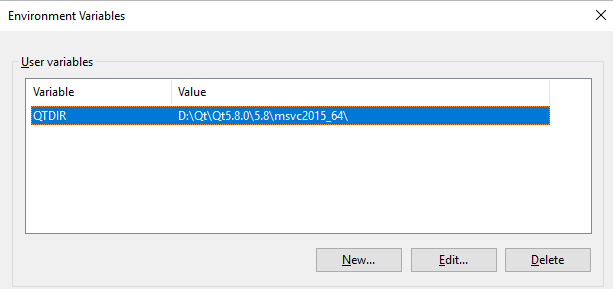
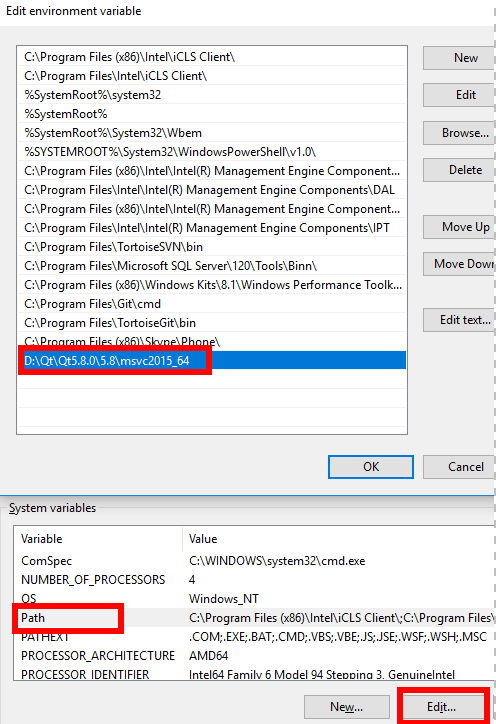
Step 4. Reboot your computer to apply your changes.
Step 5. Generate the project using ODAProjectFileGenerator.exe. In the project generator, a new item Teigha Drawing Qt Examples is added. Select it.
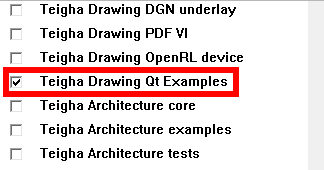
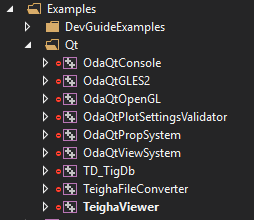
Step 6. Open the project in Visual Studio and find the new folder in Examples. Now you can build it.
Step 7. Go to the folder that you indicated in STEP 3. There, navigate to the \bin folder. Copy the .dll with the name Qt5*.dll to the folder where binary files are placed (TeighaViewer.exe).
Note: The name of the .dll that ends with d (Qt5*d.dll) is the .dll for debug builds. Qt5*.dll is used for release builds.


