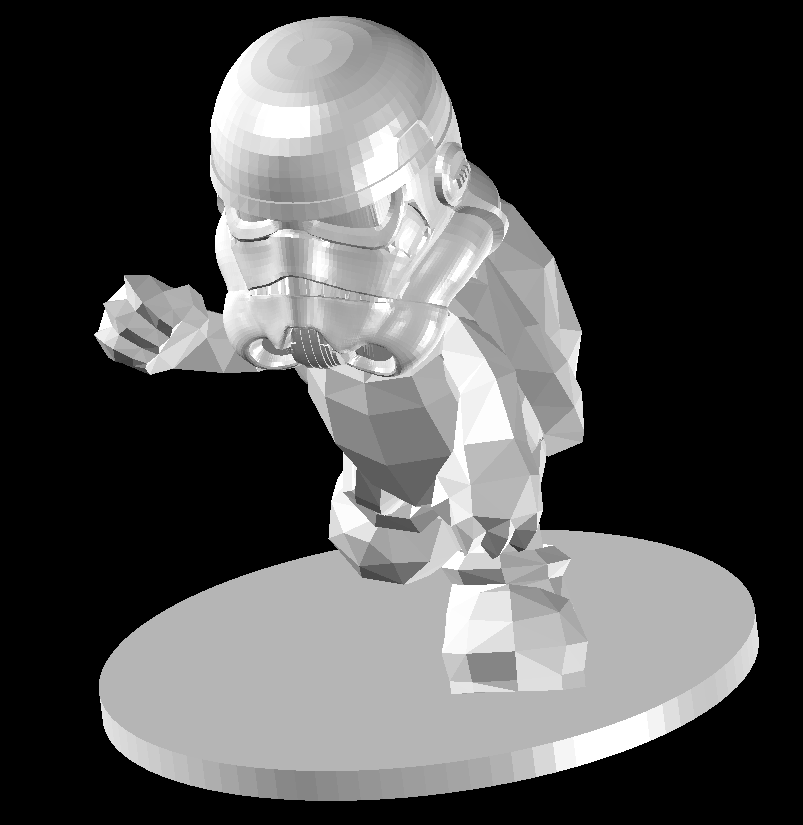
This article provides information on how to create shaded surfaces in Facet Modeler.
At a low level, models are rendered as a set of flat surfaces, usually triangles. For example:

But if you want your model to look smooth, like in the following picture, you need to provide a normal to every mesh vertex.

This way, the rendering system interpolates the light inside faces.
Facet Modeler allows you to calculate vertex normals from an analytical surface for any face. For example, extruding a circle results in a cylinder with a smooth, round surface. It can be rendered in shaded mode using the FacetModeler::DrawBody() function.
However, there are faces that do not have any analytical surfaces associated with them. In this case, they can be united with a special ShadedSurface to be drawn shaded together. A body can be split into shaded surfaces automatically by a threshold crease angle.
So, you can use the MarkShadedFaces() method to unite adjacent faces, for which the crease angle between them is less than the angleTol value.
FMGEOMETRY_API void MarkShadedSurfaces(Body& aBody, double angleTol, bool bDetectSharpEdges = false);
The described neighboring faces are marked with the same ShadedSurface entity and are rendered as a single shaded surface without any visible edges.
If you want to detect sharp edges that are rounded by the same ShadedSurface faces, set the bDetectSharpEdges flag to true. This provides better rendering of local sharp features inside generally smooth regions. However, it will slow down the calculation of shaded surface data.
To clear all the ShadedSurface data from a body, use the ClearShadedSurfaces() method. But remember, it will be rendered flat like before with the MarkShadedFaces() call.
FMGEOMETRY_API void ClearShadedSurfaces(Body& aBody);
For an example, see the ExFmBody example located in the CommonApplications/Drawing/Examples directory.